Check out my original post here to see if you are a winner ….. could it be you?
Monday, September 30, 2013
Sunday, September 29, 2013
It’s all about the food
….at Totally Tilda that is. We are midway through our current challenge of Food, Glorious Food.
Our very generous sponsor for this challenge is
Nikki from Bunny-Zoe crafts

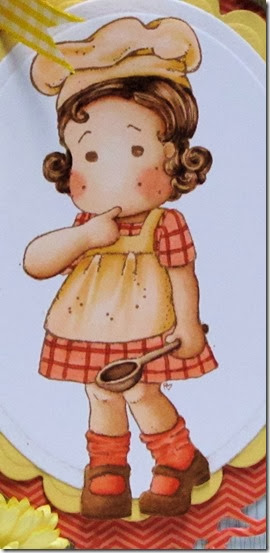
For my midway creation I chose to use one of the older Tilda’s – Oops Tilda from the Yummy for Your Tummy ‘09 collection.
Materials:
- Flowers from Wild Orchid
- Ribbon from Really Reasonable Ribbon
- Papers from Papermania – Happy Days collection
- Spellbinders Opulent Ovals
- Spellbings Classic Scallops Large
- Spellbinders Classic Ovals Large
- Copics
- Make it Colour blending card
- Tim Holtz distress ink – Vintage Photo
- Skin – E25, E11, E21, E000, R12
- Clothes – R08, R05, R02, YR21, YR20, YR00, E35, E33, E53
- Hair – E27, E25, E23, E51
Thanks for stopping by and visiting. Come on over to Totally Tilda and show us your Tilda with food.
Sunday, September 22, 2013
Just a little fun
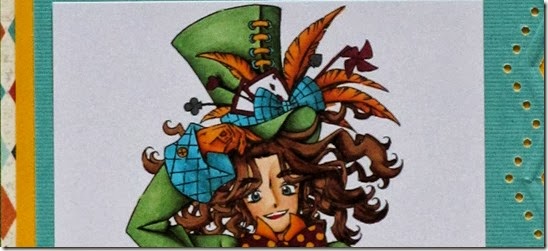
I have been making a lot of male cards lately and wanted to show you another one I made using the fun Mad Hatter from the Alice in Wonderland collection.
He is so fun to color, the possibilities are endless with all of the designs and different patterns. I so enjoyed making him all different colors. Not only is he a great mad hatter he is also fantastic as a birthday card, a just because card and a fun card.
I don't have any special techniques to share this time, just some fun coloring and hope that it makes you smile!
Make it Crafty products
- Mad Hatter digi stamp
Other products
- Copics - E11, E21, E000, R11, N5, R39, YR24, Y38, Y35, Y32,G99, G94, G82, R89, BG09, BG07, BG05, R27, N4, N3, E27, E25, E23
- Make it Colour Blending card
- Martha Stewart punch
Thanks for stopping by and visiting.
Food Glorious Food
It’s time for a new challenge at Totally Tilda and our theme this time is Food. We want to see your Tilda creations include something edible. Easy, right? If you are unsure, hop on over to the Totally Tilda blog and check out the DT creations.
This time we are very lucky as we are sponsored by the lovely Nikki from Bunny-Zoe crafts
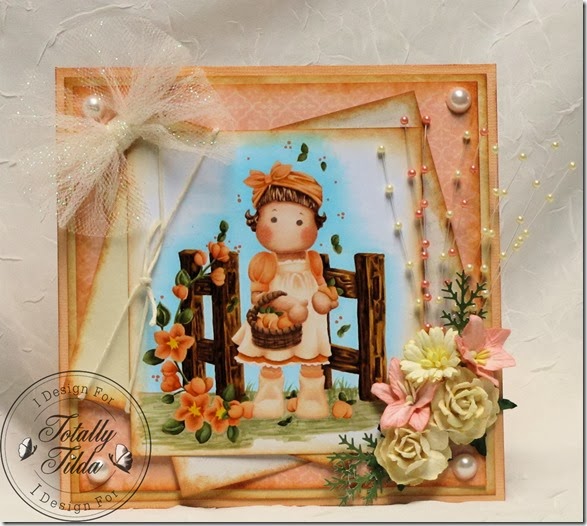
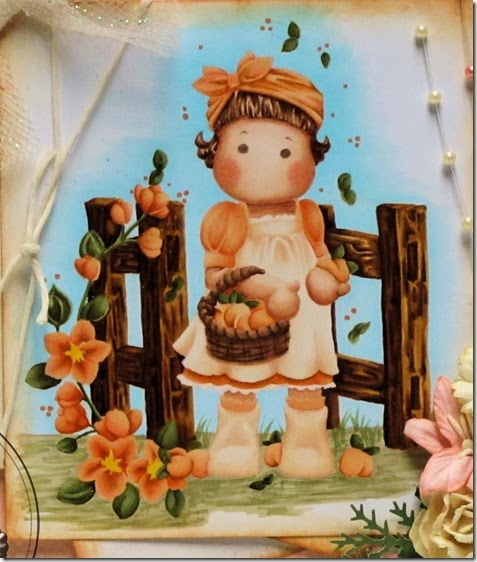
For my card I chose an older Tilda, Peachy Tilda from the Yummy for your Tummy 09 collection. I also added the Open Gate by masking Tilda and then stamping the gate.
I distressed the edges of my papers using Tim Holtz distress ink – rusty hinge. For the bow I took some tulle, folded it in half and then wrapped a piece around the middle for a very full and fluffy bow. The pearl sprigs and flowers are from Wild Orchid.
I colored using the no lines technique again. I really like this technique even though it takes a little longer for me to color.
I stamped my images onto Make it Colour blending card with Tim Holtz Spun Sugar distress ink and colored with my favorite medium, Copics.
- Skin – E25, E11, E21, E000, R12
- Fence – E27, E39, YR24,YR23, E23, E51
- Hair – E25, E35, E53
- Flowers, peaches, grass and clothes – YG99, YG95, YG93, Y19, YR02, YR61, YR20, YR23, E53, E51, E50
- Sky – B000
I would like to enter this in the following challenges:
- Inky Impressions – food, glorious food
- Fashionista challenge – anything goes
- Dutch Magnolia Lovers challenge – anything goes
- The Ribbon Girl – peach, orange
Thanks for stopping by and visiting.
Friday, September 20, 2013
It’s time for a hop
We hope you will join along, be sure to check out the full list of designers and their creations at the end of this post.
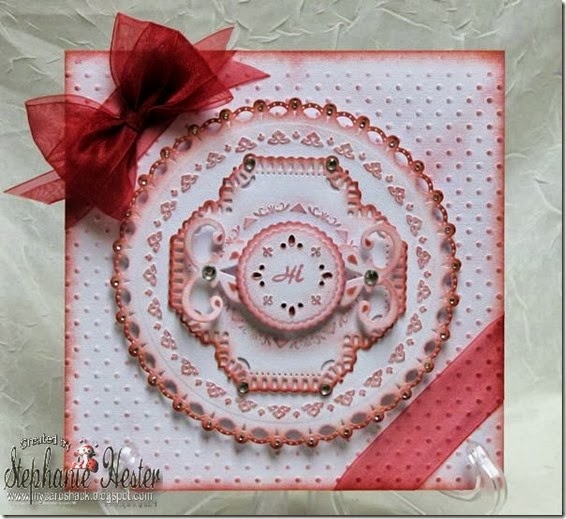
For my creation I used the following:
- Spellbinders Decorative Labels 27
- Spellbinders Grand Decorative Circles 1
- Spellbinders Gold Rounds One
- Spellbinders Petite Scallop Circles Large
- Spellbinders M-Bossabilities Dainty Dots
- Stamping Scrapping Designs Frou Frou Tags
- Stamping Scrapping Beaded Circles Stamps
- Tim Holtz Distress Ink – Aged Mahoghany
This is my finished card
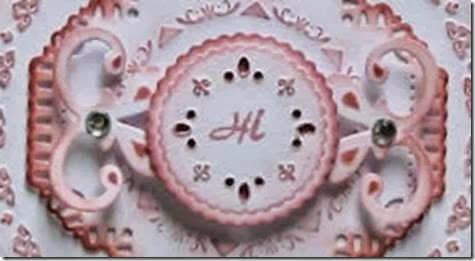
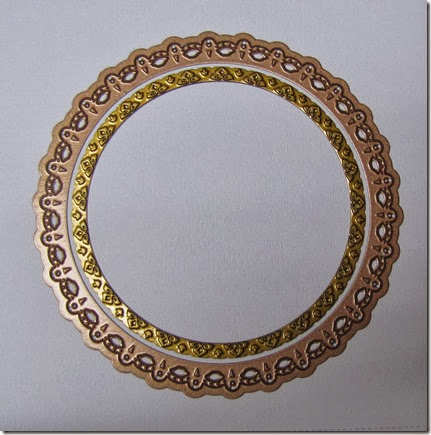
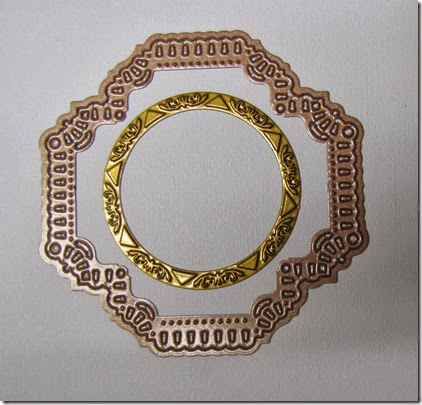
I used the following die combinations, I just love these new Gold Imperial dies, so fun to work with and the possible combinations with other dies is just endless!
Bottom layer used Grand Decorative Circles #1 die and Gold Rounds One #8 die
Next layer used Decorative Labels 27 #4 die and Gold Rounds One #4 die
Final layer used Frou Frou Tag, Petite Scallops Large #1 die and Gold Rounds One #2 die
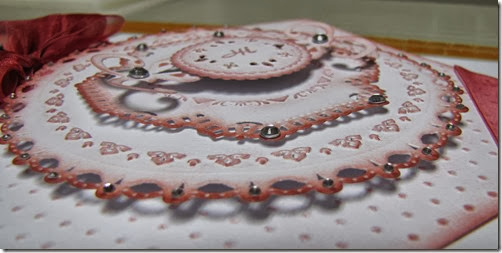
After I cut and embossed with my Grand Calibur I inked the edges and embossing with Aged Mahoghany. I added gems and ribbon as a finishing touch and then assembled using 3L foam squares for dimension.
Now for the fun ……
Please visit these blogs to view other Amazing Projects created using the Newest Spellbinders Release dies.
Leave a comment for your chance to win a set of Pearl Effects Card Creator Dies from Cindy Echtinaw Designs & A 2nd winner will receive Tile Works direct from Spellbinders Paper Arts!!!!!
Stephanie Hester (you are here)
2 Random winners will be drawn on September 30th
CONGRATS! THE WINNERS ARE:
MOOSISK
&
VICKI KERTZ
PLEASE contact me with your shipping address!
Monday, September 16, 2013
Orange and Black
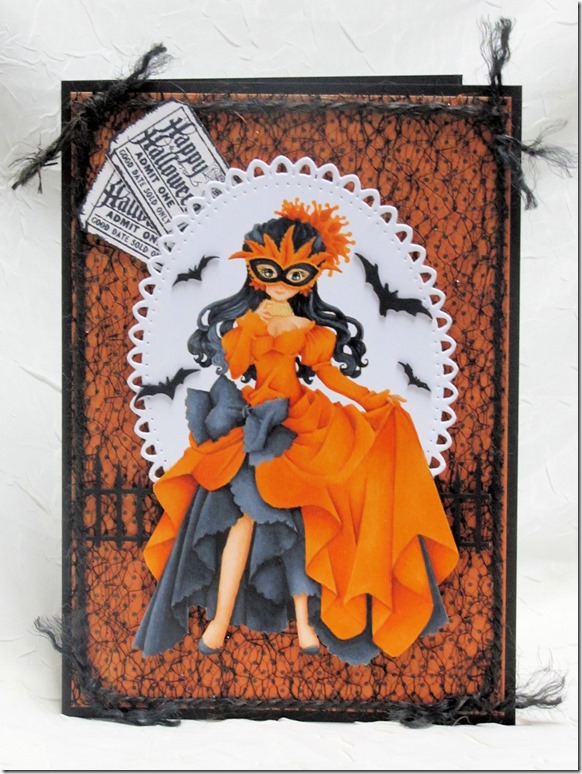
It’s time to dig out the colors of Halloween … it’s just around the corner. But who says that it has to always be scary? I wanted to take a different route for my project at Make it Colourful so I chose to color up the gorgeous Christine Soprano.
I just love all of the folds in her dress, don’t you? And the no lines coloring really brings out the softness.
I printed my image onto Make it Colour blending card and colored her with Copics:
- Skin – E11, E21, E00, E000, R12
- Clothes – 100, C9, C7, C5, YR27, YR68, YR15, E30
For some more Orange and Black and spooky scenes be sure to hop on over, they are AMAZING!
I am entering this in the following challenges:
- Designed to Color – anything goes
- Challenges 4 Everybody – anything goes
- Graph’It color challenge- Halloween colors
Thanks for stopping by and visiting.
Sunday, September 15, 2013
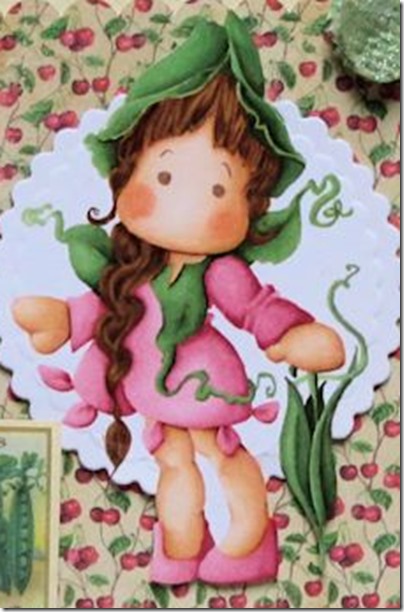
My Little Sweet Pea
It’s Midway at Totally Tilda for our gardening challenge. We want to see your Tilda creation with seed packets and/or gardening tools.
Our very generous sponsor for this chall is
The Ribbon Girl
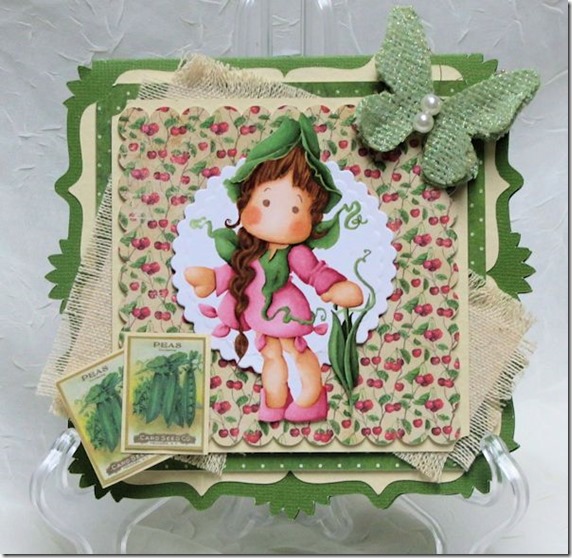
For my card I used the adorable Sweet Pea Tilda. I thought she would make the perfect gardening gal.
The card shape and all the mats were done using my Silhouette Cameo. Behind Tilda I used Spellbinders Petite Scallops dies.
I stamped Tilda using Tim Holtz Spun Sugar distress ink pad onto Make it Colour blending card and then colored her with Copics.
- Skin – E25, E11, E21, E000, R12
- Clothes – R85, R83, R81, G99, G94, G82
- Hair – E57, E39, E35
I would like to enter this in the following challenges:
- Marvelous Magnolias Challenge: Anything Goes
- Anything Goes Challenge: In the Garden
- Addicted to Stamps Challenge: Make your Mark, using markers.
Thanks for stopping by and visiting and be sure to hop on over to Totally Tilda and check out all of the lovely creations. We would love for you to play along!
Sunday, September 8, 2013
Green Thumb Tilda
Today starts a new challenge at Totally Tilda and we want to see Tilda doing some gardening. We want to see some packets or gardening tools on your project.

This week we are very lucky to be sponsored by the lovely The Ribbon Girl
If you haven't been over to the Ribbon Girl shop you should go and have a peek at all the lovely goodies for sale over there .... everything is so yummy !!
Thank you so much for sponsoring us xx.
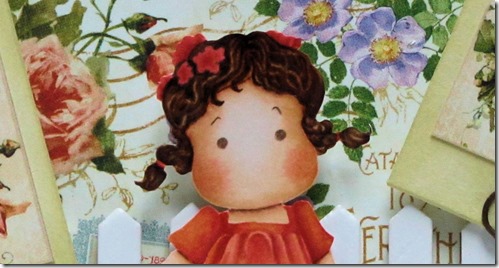
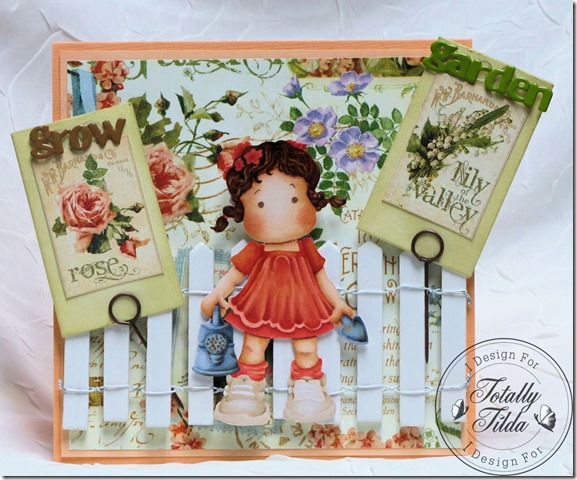
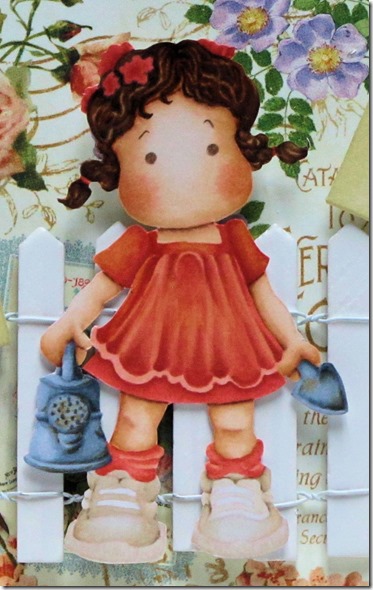
For my card I chose to use Watercan Tilda.
The seed packets are handmade using my new Graphic 45’s Secret Garden. The fence is real and came in a kit so not sure where it is from but I thought it was a perfect addition for this theme. The ‘grow’ and ‘garden’ brads I have had for awhile and finally found a use for them … woohoo!
I colored Tilda using the No Line technique (yes again). I stamped her with Tim Holtz Distress Ink – Spun Sugar onto Make it Colour blending card and colored her with Copics.
- Skin – E25, E11, E21, E000, R12
- Hair – E47, E39, E53
- Watering can and spade – C8, C6, C4, C2, E55
- Clothes – R24, R17, R14, R12, E43, E42, E41, E40
I would like to enter this in the following challenges:
- Time for a Magnolia Challenge: Anything Goes
- Addicted To Stamps and More: Anything Goes
- Tilda’s Town – something old, something new
Thanks for stopping by and visiting!
Saturday, September 7, 2013
On a Moonlit Night
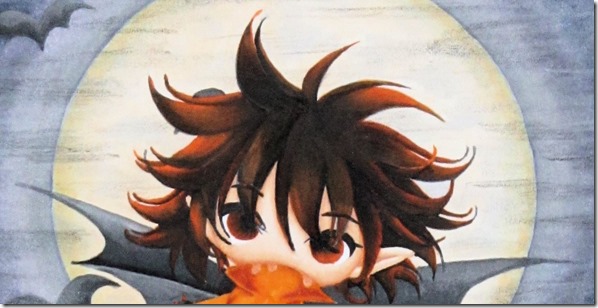
For my inspiration post at Make it Crafty I chose to follow along with the challenge on the Make it Colourful blog. That challenge is Orange/Black and/or Spooky background. I chose to use the whole theme.
This was a challenge for me but I had a blast! Since being a part of Zoe's fantastic Inspiration team I have had the opportunity to broaden, and enhance, my coloring. This is the first time I attempted a background like this and I am pleased with the results. So, how did I do it? I used several different copic colors to color the moon and the sky.
For the moon, before I colored the main color, I used T1 and added little blotches of color throughout the moon.
After that I then outlined the moon with BG000, BG000, and E51. I colored the remaining part of the moon with E50.
For Moxi's hair I colored the darkest areas with N7 and N6 and then added YR27, YR68 and YR15 using mainly YR68 over the N's. What I found with doing this is the YR68 picked up the N's and moved them into the YR68 giving a nice blending look.
After the scene was completely colored I went over some of the 'shiny' areas with Prisma pencils. Remember, when using pencils, to do this after your image is colored as the tips of your Copics could be damaged if coloring over the pencil. I created the smoky/spooky portion using light gray, white and a touch of black.
I really enjoyed creating this scene and let me tell ya, working with scenes is becoming very addicting! Why not give it a try yourself and you will see what I mean.
Make it Crafty products
Other Products
- Copics:
- Moxi - E11, E21, E000, N7, N6, N5, N4, N3, YR27, YR68, YR15
- Scene - YG99, YG95, YG93, E49, E44, E43, E42, E50, E51, BG0000, BG000, T1, T3, T4, BV29, BV25, BV23, BV20
- Tim Holtz Distress Markers
- Primsa Watercolor pencils
- Make it Colour blending card
I am entering this in the following challenges:
- Digitally Sweet – anything goes
- Graph’It color challenge – background effects
- Digi Galore – anything goes
- Corrosive challenge – all about fall
Thanks for stopping by!
Sunday, September 1, 2013
Good luck
It’s Midway at Totally Tilda for our Seaside or BBQ challenge.
Our challenge is sponsored by the lovely Nikki from Bunny-Zoe crafts

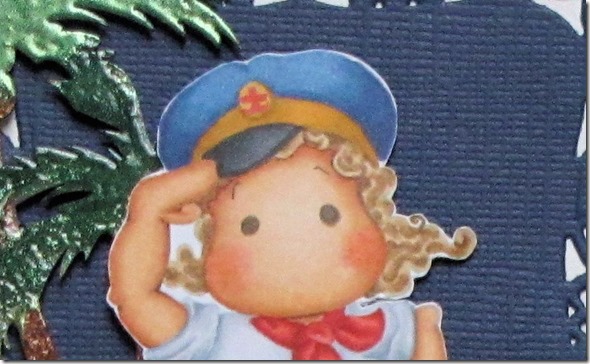
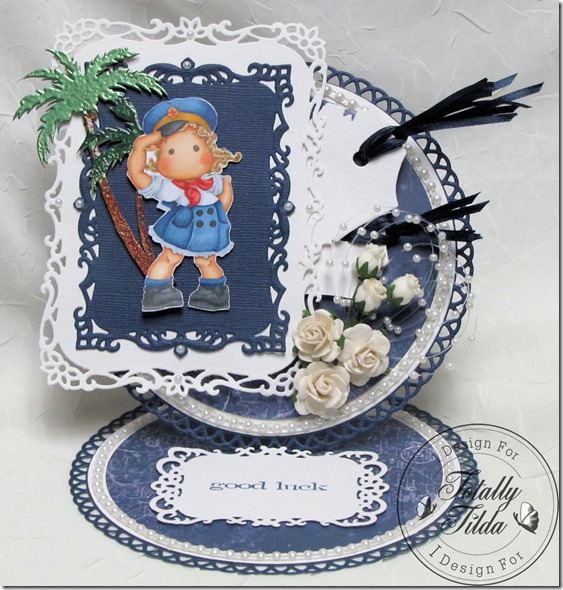
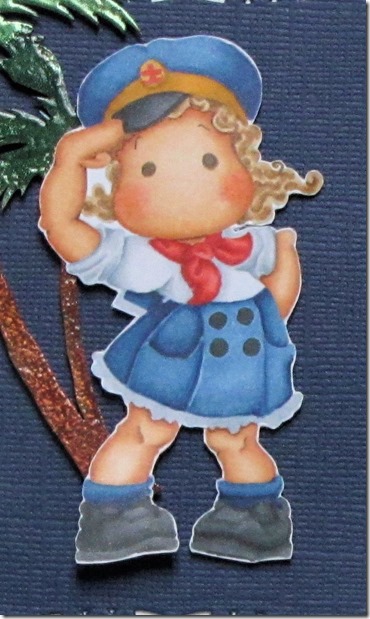
For my card I chose to use Salute Tilda. I really like the no lines coloring technique if you can’t tell, I really enjoy watching the image come to life as the color is added. Since I am not a master of shading this helps my image look more dimensional to me.
I really love the style of Jenny Dix’s cards, the offset on her easel cards and the awesome embellishments she uses so I decided to try an offset easel. Thanks Jenny for all of the fantastic inspiration!
List of materials:
- Salute Tilda
- Spellbinders Grand Decorative Circles 1
- Spellbinders Grand Circles
- Spellbinders Decorative Labels 8
- Magnolia Doohickey Tag
- Flowers and pearls from Wild Orchid
- Palm Tree chipboard
- Make it Colour blending card
- Copics
- Skin – E25, E11, E21, E00, E000, R12, R11
- Clothes – B39, B37, B34, N6, YR24, YR23, YR21, N7, N5, N4, R27, R24, R22
- Hair – E57, E35, E53
I would like to participate in the following challenges:
- Tilda’s Town – anything goes
- Simon Says Stamp – anything goes
- Time for a Magnolia challenge – anything goes
Thanks for stopping by and visiting!
Disclosure Policy
This policy is valid from February 26, 2011
This blog is a personal blog written and edited by me. For questions about this blog, please contact hester.stephanie@gmail.com.
This blog does not accept any form of cash advertising, sponsorship, or paid topic insertions. However, we will and do accept and keep free products, services, travel, event tickets, and other forms of compensation from companies and organizations.
This blog abides by word of mouth marketing standards. We believe in honesty of relationship, opinion and identity. The compensation received may influence the advertising content, topics or posts made in this blog. That content, advertising space or post will be clearly identified as paid or sponsored content.
The owner(s) of this blog is sometimes compensated to provide opinion on products, services, websites and various other topics. Even though the owner(s) of this blog receives compensation for our posts or advertisements, we always give our honest opinions, findings, beliefs, or experiences on those topics or products. The views and opinions expressed on this blog are purely the bloggers' own. Any product claim, statistic, quote or other representation about a product or service should be verified with the manufacturer, provider or party in question.
The owner(s) of this blog would like to disclose the following existing relationships. These are companies, organizations or individuals that may have a significant impact on the content of this blog.
Currently designing for:
Companies that have provided me with free product or images:
Stamping Scrapping
anaRy Designs
Spellbinders
Basic Grey
Scor-Pal
Digital Delights
La La Land Stamps
JustRite Stamps
Woodware Stamps
To get your own policy, go to http://www.disclosurepolicy.org
